A step-by-step homeowner prep guide for interior painting projects, what to move, clean, protect, patch, and communicate before your professional painters show up.
Hiring professional painters is just the beginning. How well you prepare your home before they arrive has a direct impact on the quality of the finished work, the project timeline, and the likelihood of a smooth, stress-free experience. A little preparation on your end, typically 2–4 hours the day before the job starts, pays significant dividends on day one.
This guide walks through everything you need to do to be genuinely ready for a professional interior painting crew. We've organized it roughly in the order you should tackle each step.
1. Clear Rooms and Move Heavy Furniture
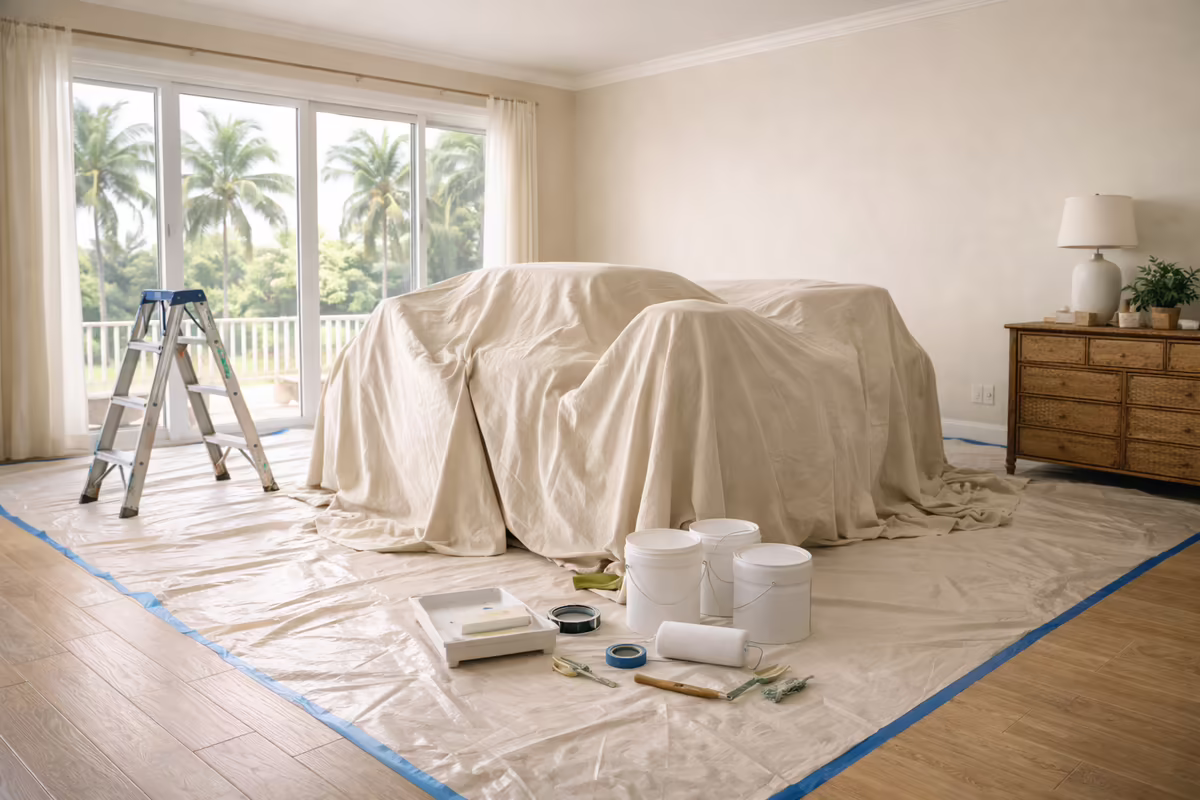
Professional painters will move light furniture (dining chairs, side tables, ottomans, nightstands, lamps) away from walls and protect everything with drop cloths. What they can't do quickly or safely is move your large, heavy pieces: king-size beds, dressers, sectional sofas, bookshelves, entertainment units, pianos.
Before painting day, move these large pieces to the center of the room (where painters can work around them) or out of the room entirely, into a garage, a room not being painted, or temporarily to another area of the home. The more open wall access the crew has, the faster and more cleanly they can work.
Practical tip: If a large sectional or bed frame genuinely can't be moved, tell your painter during the estimate. They'll account for it in the quote and plan to cover it with plastic sheeting. But clear is always better than covered, moving a sofa takes 10 minutes; working carefully around it for an entire day takes considerably longer.
2. Remove Wall Hangings and Décor
Everything on the walls needs to come down before painters arrive. This includes:
- Framed artwork and family photos
- Mirrors
- Wall-mounted clocks
- Decorative shelves and floating shelves (unless painting behind them)
- Curtain rods and drapery hardware (if painting the walls behind them)
- Sconces and wall-mounted light fixtures (consult with your painter; they'll often mask these rather than remove)
- Any other wall-mounted décor
Switch plate covers and outlet covers will be unscrewed by the painting crew, you don't need to do these yourself, but doing so the night before saves the crew time on day one.
3. Patch Obvious Holes Before the Crew Arrives (or Ask Them To)
Professional painters include minor hole filling and surface prep as part of a standard paint job, nail holes, small anchors, shallow dings. But if you have significant damage, large holes from anchors or hardware, drywall seams that have cracked, areas where previous texture repairs look different from surrounding walls, bring these up during your pre-job walkthrough.
If your walls have more substantial repair needs, areas where moisture has caused the drywall to soften, crumbling corners, deep gouges from furniture, these are candidates for dedicated surface repair work before painting begins. RPB Painting LLC's surface preparation and repairs service handles drywall patching, crack filling, caulking, and texture repair as a standalone service or as part of a full paint project. Addressing these issues properly before paint goes on is the only way to ensure a professional, lasting result, paint over a compromised surface will fail at that surface regardless of paint quality.
4. Clean Grimy Walls Before the Crew Arrives
Professional painters clean walls as part of their prep process, wiping down surfaces before priming and painting. However, there are some situations where cleaning is your responsibility beforehand:
- Kitchen walls with significant grease buildup: A TSP (trisodium phosphate) cleaner or heavy-duty degreaser is needed. Painter's prep cleaners won't cut through thick grease effectively.
- Bathroom walls with soap scum or mildew: Wipe down with a diluted bleach solution (1 part bleach to 10 parts water) and allow to dry completely before painters arrive. Active mildew that isn't cleaned before painting will show through or grow under the new paint.
- Rooms with smokers or heavy cooking odors: Discuss with your painter, odor-sealing primer may be needed, and pre-cleaning with a degreaser helps primer adhesion.
In most rooms, bedrooms, living areas, hallways, your painter will handle all necessary wall prep. When in doubt, ask during the estimate walkthrough.
5. Remove Hardware from Doors and Cabinets (Optional but Helpful)
If your doors are being painted (not just the walls), door hardware, knobs, handles, hinges, will need to be masked or removed. Painters will mask hinges with tape and painter's masking; some prefer to remove knobs entirely for a cleaner cut. If you want to handle this yourself, remove door knobs and cabinet pulls the evening before the job starts and store the hardware in labeled bags so you can reinstall them after the paint dries.
If you're having kitchen cabinets painted as part of this project, see our cabinet refinishing service for specific prep guidance, cabinet preparation is more involved than standard wall prep.
6. Handle Pets
Pets and professional painting don't mix well. Dogs can be stressed by strangers moving through their home, cats reliably find ways to walk through paint and transfer it to floors and furniture, and birds are highly sensitive to paint fumes, some paint products can be harmful to birds even at low VOC levels.
Plan for your pets during painting days:
- Keep dogs and cats in a room that's definitively not being painted and that painters won't need to enter. Place a note on the door and tell the crew clearly.
- Arrange boarding or a stay at a friend's home for pets if the job spans multiple days or if keeping a safe room isn't feasible.
- Birds especially should be moved out of the home during painting and for 24–48 hours after. Even low-VOC paints off-gas during application.
7. Plan for Ventilation
Paint fumes are a fact of interior painting, even with low-VOC formulations. Proper ventilation speeds drying and improves air quality during and after the job. Before your crew arrives:
- Open windows where weather permits (Florida's afternoon thunderstorm pattern means the window of opportunity for ventilation is typically morning through early afternoon)
- Run ceiling fans to promote air circulation
- Turn off HVAC air returns in rooms being painted to avoid circulating paint fumes throughout the home, ask your painter about this, as practices vary
If a household member has chemical sensitivities, asthma, or allergies, inform your painter during the estimate. RPB Painting carries zero-VOC options including Benjamin Moore Natura, which is specifically formulated for sensitive households.
8. Secure Valuables
Reputable contractors like RPB Painting LLC carry full insurance and employ professional crews, but it's standard homeowner practice to secure valuables in a locked room or safe before any contractor works in your home. This applies to jewelry, cash, medications, and small electronics. It's not a reflection on your contractor's integrity, it's just sensible practice.
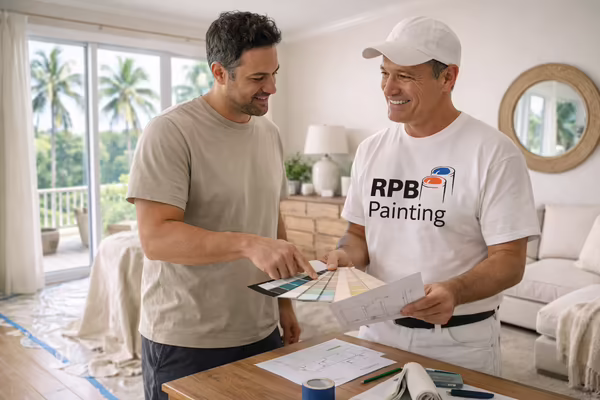
9. Confirm Colors and Scope in Writing
Before the crew shows up on Day 1, confirm in writing:
- The specific paint color for each room (color name and formula code)
- The sheen for each surface (flat ceilings, eggshell walls, satin or semi-gloss trim/doors/bathrooms)
- Whether ceilings are being painted, and in what color
- Whether trim is included (walls only, or walls + trim + doors)
- Any rooms or surfaces explicitly NOT in scope
Color-related misunderstandings are among the most common sources of frustration during paint projects. A written scope with specific colors eliminates ambiguity. If you haven't chosen colors yet, request a color consultation before the job starts, RPB Painting offers complimentary color advice as part of the estimate process.
10. Communicate Your Schedule and Access Requirements
Before day one, let your painter know:
- What hours the crew can be on site (especially relevant if you have HOA quiet hours or community start time restrictions)
- Whether you'll be home during the project or need a key/lockbox arrangement
- Hard stop times (school pickup, medical appointments, other contractors arriving)
- Which rooms are occupied and need to be accessible during the project (a functioning bathroom, a bedroom where someone sleeps)
- Any preferred communication, some homeowners want daily text updates; others prefer to check in themselves. Tell your painter what works for you.
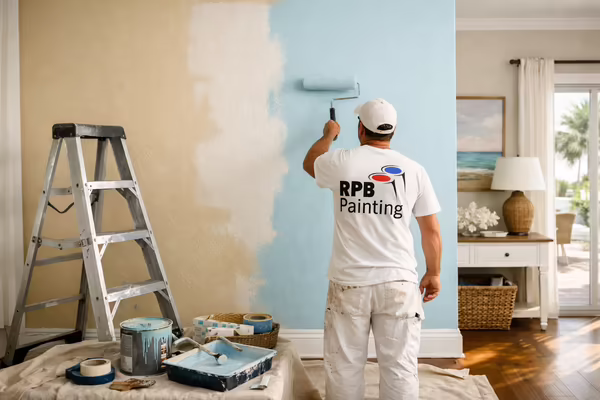
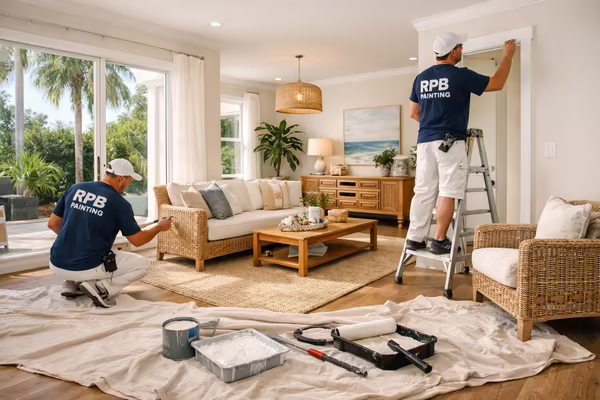
What Happens on Day One
When an RPB Painting crew arrives, they'll do a brief walkthrough with you to confirm scope, colors, and any items noted during the estimate. After that, set up begins: drop cloths go down, masking tape goes up on trim and fixtures, and prep work starts. You don't need to supervise or hover, professional crews work best when they can focus. Check in at mid-day if you'd like to see progress, and do a final walkthrough together at the end of each day to review what's complete and what's scheduled for tomorrow.
The difference between a homeowner who's prepared and one who isn't shows up immediately: a prepared home means the crew can start painting sooner, cover more area in less time, and deliver a cleaner result. The 2–4 hours you invest the evening before typically reduces total project time and produces a noticeably better finished product.
Getting Ready to Start Your Project
If your home has surfaces that need significant repair before painting, drywall damage, texture inconsistencies, failing caulk, or moisture-related issues, our surface prep and repairs service addresses these comprehensively before any paint goes on. Proper prep is the foundation of a paint job that looks great and lasts.
Ready to schedule? Contact RPB Painting LLC for a free estimate. We'll walk through your home, assess surface conditions, help you think through colors, and give you a clear, written quote with no surprises on job day.